
This blog gives an overview of voice-over recording, from the engineer’s perspective.
My studio was built with the singer in mind, but I am perfectly equipped to record voice-overs, and have done so on multiple occasions. It helps having a vocal booth and a Neumann U87, which is a popular mic for voice-over recording.
If I’m recording someone who is sitting down, the upside down position of the mic works better, as it’s easier to adjust the height with a standard mic stand, and it looks cool.

First things first, prep! It’s great if you can get any session material from the client beforehand. This could be a video or a script. Here's an example of a recent script:

The script lets you run the session smoothly, pick up quickly on any mistakes, and organize your recordings cleanly.
If you get a video, make sure it can be synced up with your DAW. Logic Pro X is great for this. This means that when you begin recording, the video plays at the same time. This is extremely useful, as it means that the voice-over will also be in sync, and post editing work will be quicker.
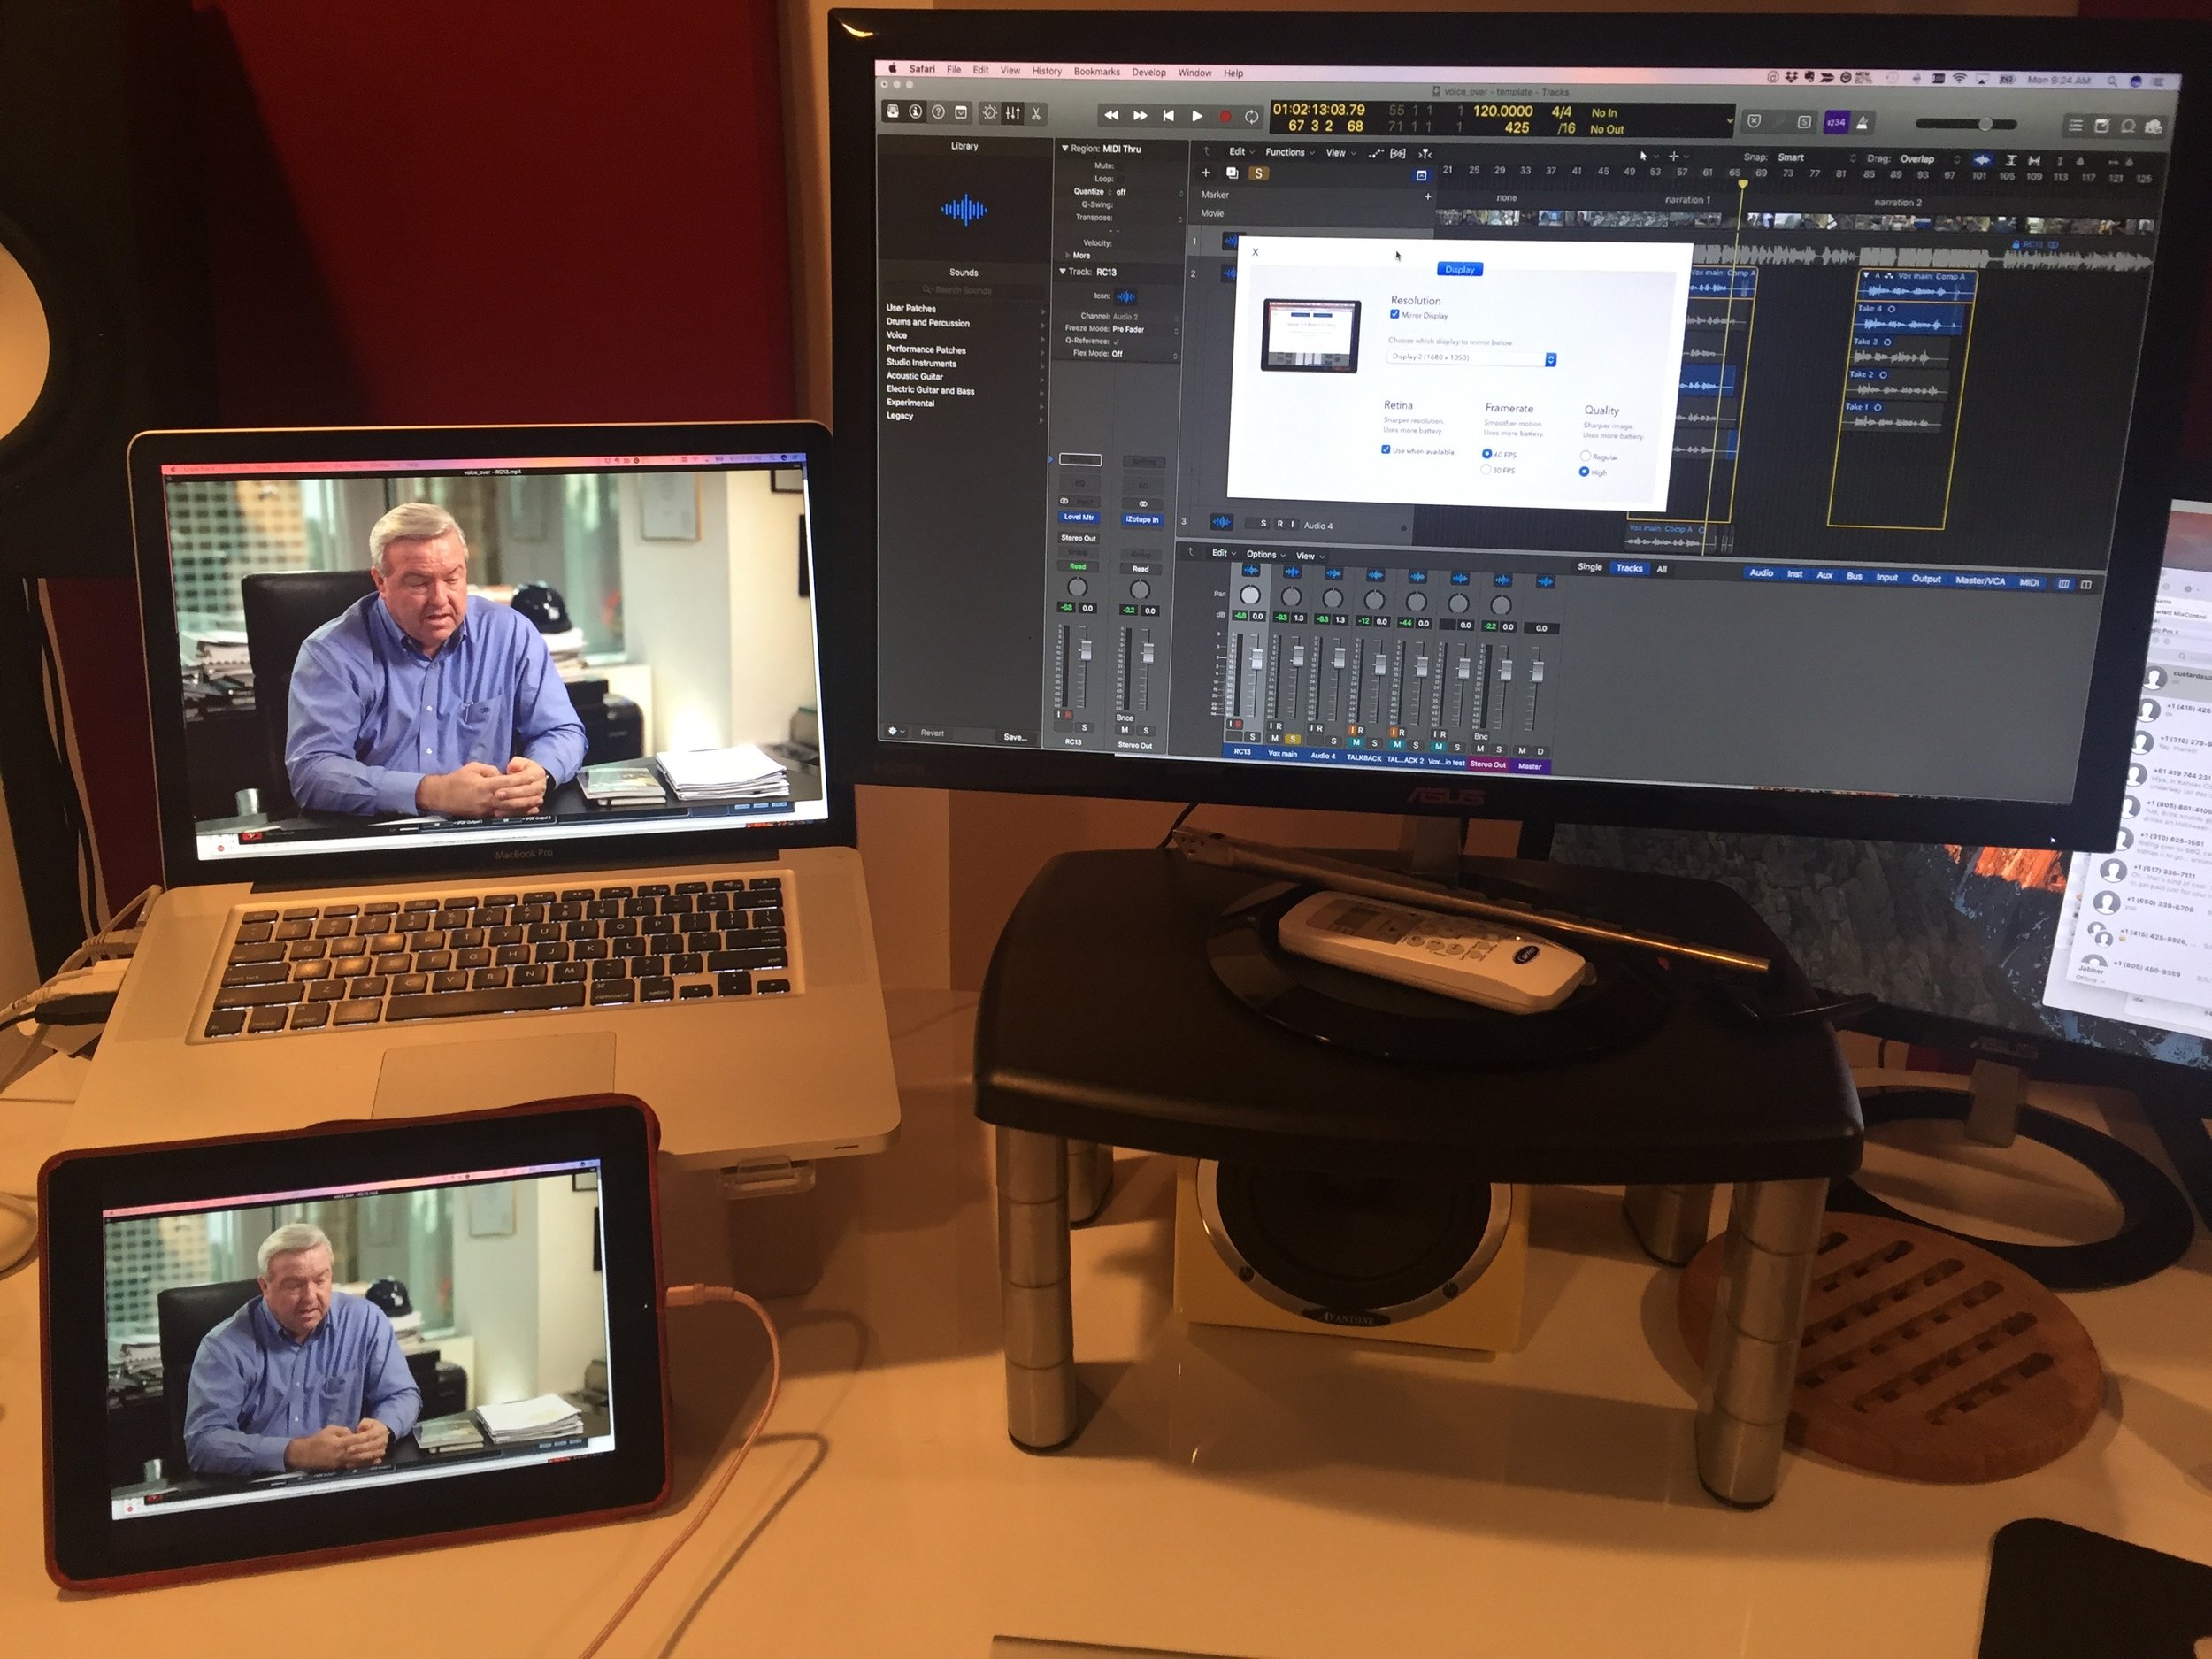
One issue though. How to stream the video into the booth? One solution I found is to use an ipad, a USB cable with a long extension, and an App called ‘Duet’. Hooking it up was a breeze, and I was able to sync the display from my second monitor (on the left). The iPad could then go into the booth.
Next part is gain staging. This is a little different than recording a singer but not drastically. There is less of a dynamic range with a voice-over, so the levels are more consistent. With a singer, you want to have them sing the loudest section of the song, so you can set the gain around that. A recent voice-over was recorded with a -25Db average with peaks of around -13Db. There’s a low noise floor with 24 bit recordings, so the volume can be boosted easily afterwards. I also avoid going higher than -10Db in case of any clipping, which won't happen till 0Db, but I like a lot of headroom for safety.
When recording the session, there are a couple of different approaches that people use:
Do everything in a single takes with mistakes included
If you make a mistake, say ‘Again’, and read the phrase again. It’s usual to have about three full single takes. The main problem with this approach is that you will have to manually splice the audio when editing. However, it does let you fix the mistake immediately. It could be the case that on your second take, the same mistake is made, you forget, and don't have a clean take of it.
Do everything in single takes but start again if mistake
This approach goes for a clean take, and attempts to only have a selection of clean takes. The problem here would be if the take was a long one, and it's a complete pain to go back to the start every time. In these cases I would probably just punch the voice actor in to fix any issues, or use a separate take to fix the problems, and create a comp from that.
Everyone I recorded so far had someone already in place to do the editing and mixing for them. All they wanted from me was the raw files. This is easy in Logic. All you have to do is highlight the tracks, right click, and ‘export as audio files’. One issue I thought about, was how to adjust plugin values in multiple tracks at once. It could be the case that you have (like I did recently) 132 tracks, and you want to make the same adjustment to all of them (compressor, de-esser, low cut, etc). If you're in this situation, and using Logic, here's two techniques that will work:
How to add and adjust plugins for multiple tracks
This technique is a little 'hacky', but it works, and won't take too long.
- Add a plugin to a single Channel.
- Adjust the values of the plugin accordingly.
- Save the plugin values as ‘Default’. This means any time you open up this plugin on a track, it will have these new values.
- Highlight all the channels you want to add the plugin to.
- Add the plugin to the first channel, and it will appear in all of them, with the values you set as the default.
Here's a voice-over I recorded using the above method. Fortunately I didn't do the editing!
How to apply the same amount of gain to multiple tracks at once
- Select all tracks
- Adjust the gain setting in the inspector window (see image below)

If you are doing the mixing yourself, here's a useful article about broadcasting loudness levels. You'll need a brick wall limiter for this! I use Izotope Ozone for this stuff.
https://transom.org/2016/podcasting-basics-part-5-loudness-podcasts-vs-radio/


